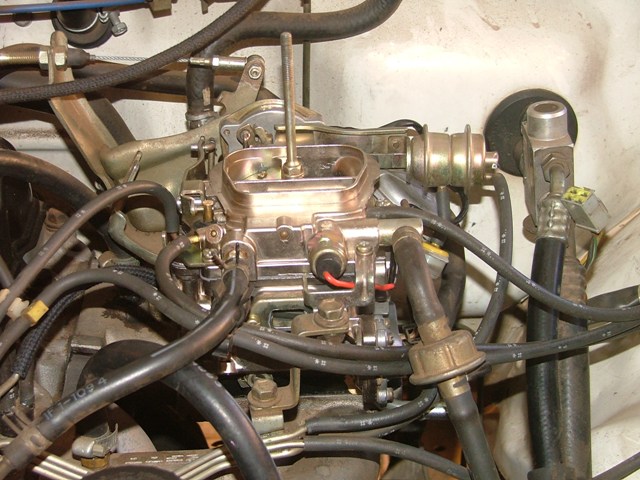
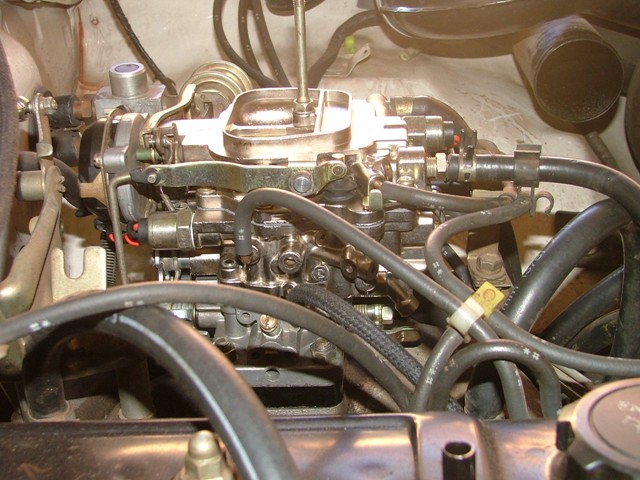
Overhauling Nikki Carb
- Remove air filter piping and flow duct.
- Now take a few photos from all angles to aid correct placement of vacuum pipes and brackets etc. This is not a necessity but is helpful if you get stuck or you get side tracked for a while and can’t remember when you come back to it. Or of course, if age is not on your side, a few pictures are definitely a must.
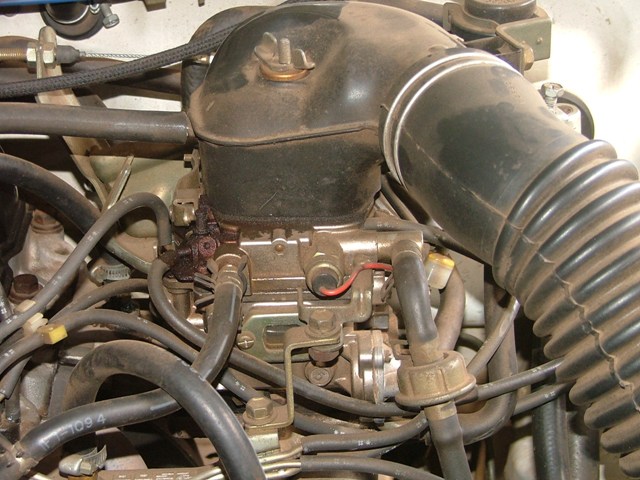
- Remove vacuum pipes. (I removed the pipes at different ends to stop confusion when replacing)
- Remove accelerator 2nd stage link. (The little white plastic one)
- Remove all air breather pipes.
- Loosen the 4 x M8 (12mm Spanner or socket) securing nuts, holding the carburettor to the manifold.
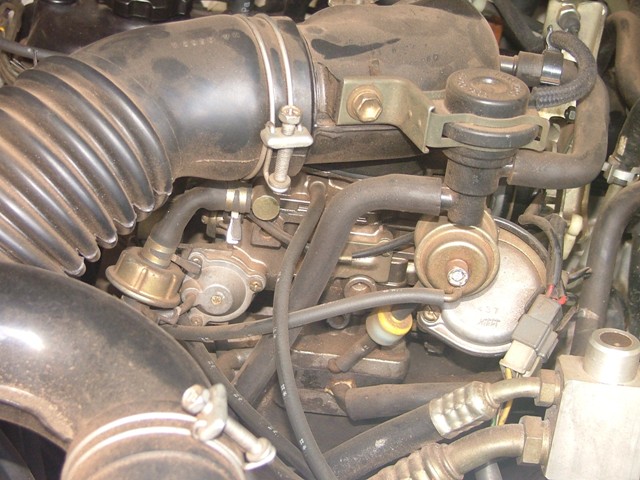
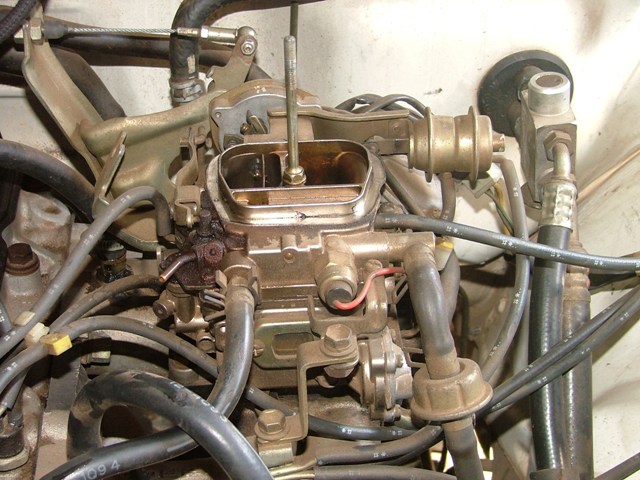
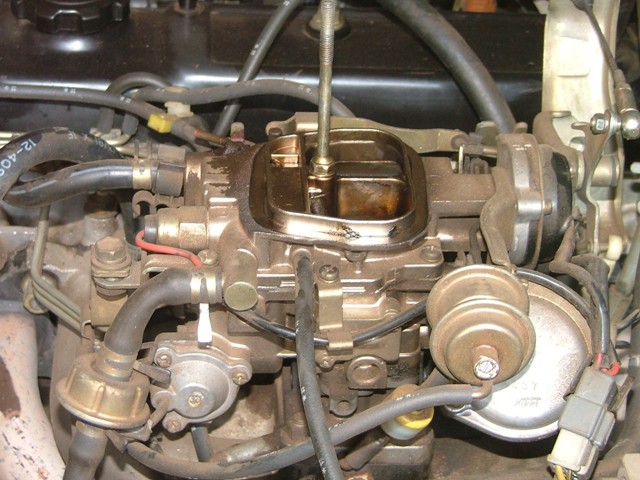
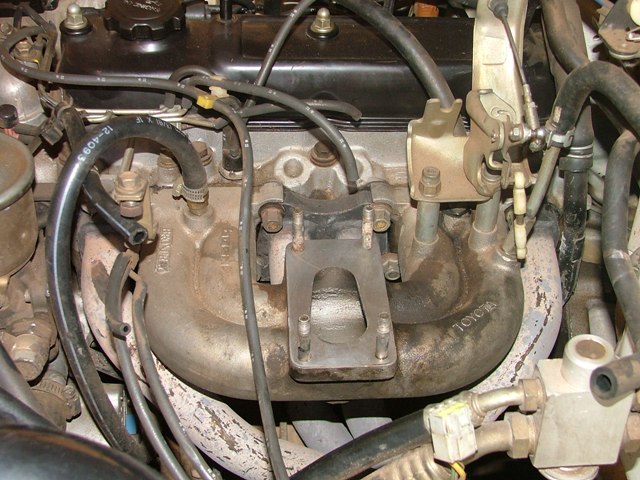
- The carb can now be removed from the car.
- At this point it would be a good idea to take photos up close before stripping.
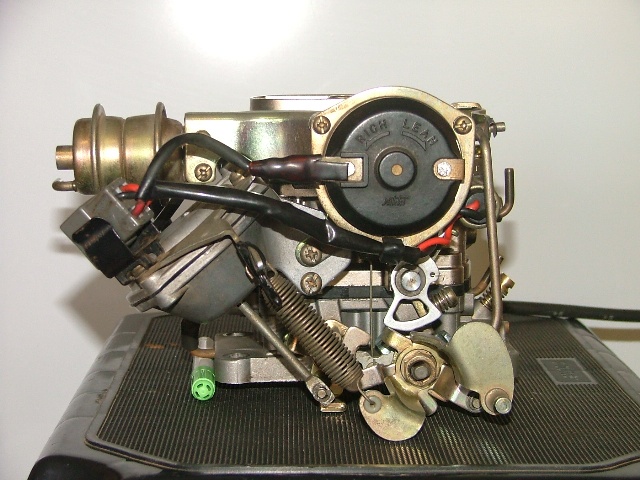
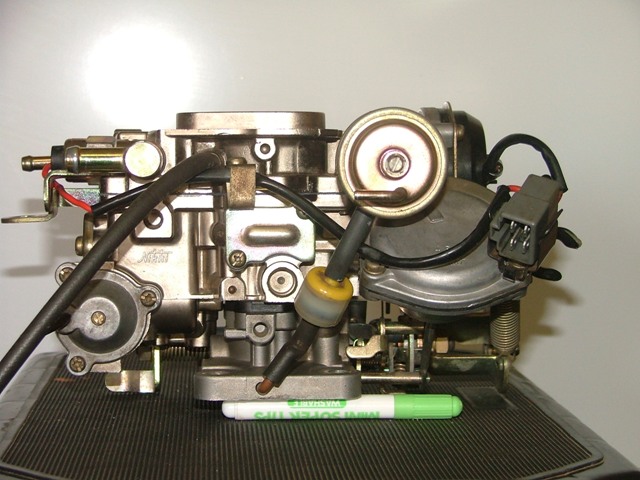
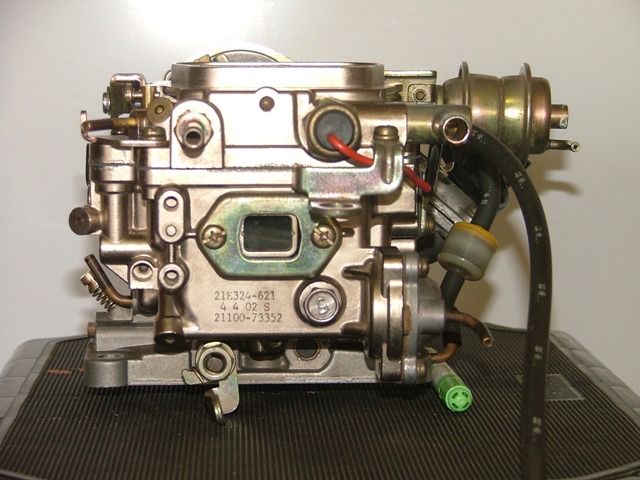
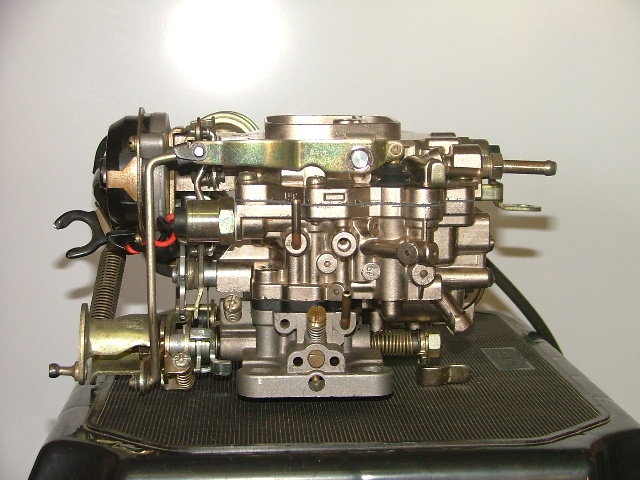
9.On the base of there are three screws holding the throttle body to the main body, one of which is also a jet of sorts so be careful when loosening. The screws will be fairly difficult to loosen as they have probably been sitting there for a while and with the constant temperature change from the manifold they will sit tight. I used a RACO dolly (a special impact screwdriver, used in conjunction with a hammer) to loosen the screws. Without this you would have to be very careful not to strip the screw head.
10.You will need to remove the accelerator pump arm, accelerator arm, springs and one way valve before the throttle body can be totally removed. (Be careful not to lose the clips and springs, I place the clips back onto their respective parts so that they don’t get lost)
- I would suggest cleaning and replacing parts piece by piece, again this aids in remembering where things go.
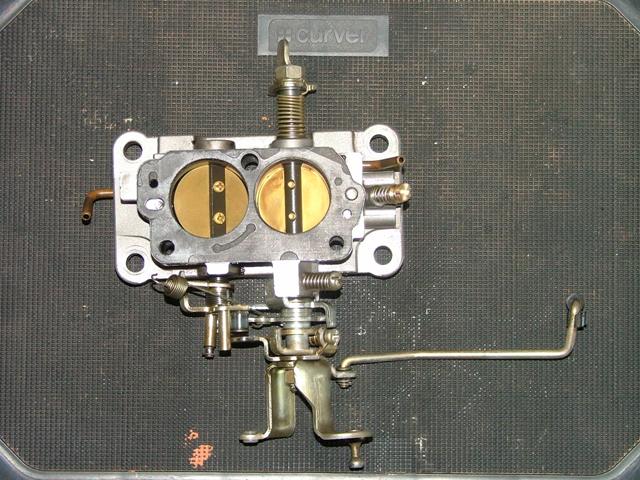
- Clean the throttle body, making sure to get all dirt out of butterfly shafts and check for play on the bushes. (check the up down play as the side to side play will not affect the performance) I opted to leave the butterflies in as there was no play.
-
The Air Mixture screw can now be replaced. Using a suitable screw driver, turn the AM screw back into the throttle body, being careful to count the number of turns. When the screw stops, write down the number of turns and remove & replace the AM screw with the new one. Set the new one in the same manner.
-
Set the throttle body aside.
-
Take the remaining carb piece, you will see 6 phillips retaining screws on the top. These hold the top housing to the main body.
-
Remove accelerator pump arms and loosen solenoids.
-
The solenoids have small springs and a pin, so be careful not to lose them. (You may have to separate the two housings before removing the solenoids, so as not to twist the wires too much)
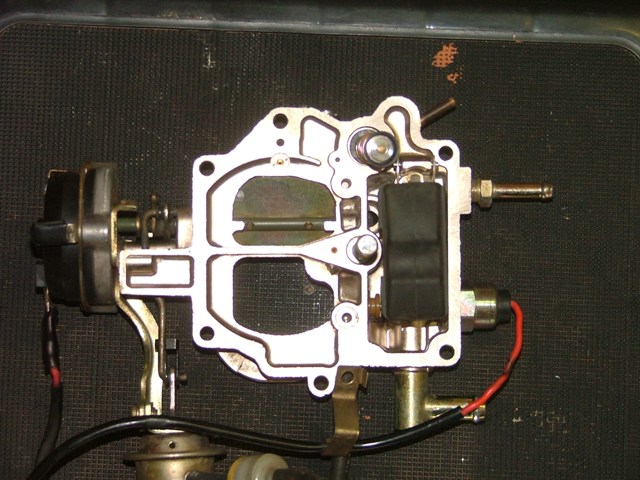
-
Once the solenoids are removed, loosen the screws and split the two housings.
-
Be careful not to bend the float as you will battle to get it right again.
-
Clean the top housing. (Float housing)
-
Remove the float, needle, gasket and accelerator pump plunger.
-
Remove the seat and be careful as this will also be tight. Use the correct tools to minimise damage to all parts.
-
Clean parts again and replace float, needle and seat and plunger.
-
Check the float level.
-
With the gasket removed, measure from the gasket face to the underside of the float. This measurement should be 11mm, but can be adjusted according to you vehicle needs. When the float is adjusted make check that the float tab is 1.2mm (approx) away from the needle.
-
With the cover still inverted, lift the float till the stop tab stops the float. Measure the distance. (1.2mm)
-
The gasket can only be placed with the float off.
-
Set the top cover aside and continue with the main housing.
-
Clean the main housing.
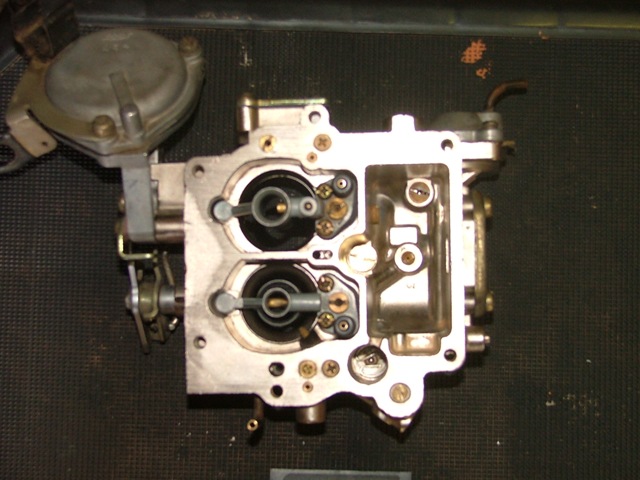
- Remove the primary and secondary venture and clean.
- Remove all jets, making sure to replace correctly.
- Clean all holes and jets, and blow out with compressed air to make sure they are clean.
- Once clean, the following is supplied in the kit and can be replaced: Primary mains, Secondary Mains, Slow jet, balls, power valve and venture gaskets.
- Remove and replace the plunger filter and screen and replace the ball. Be careful no to lose the spring.
- Remove the float glass retaining bolts.
- Replace the o-ring and gasket supplied.
- Clean the glass!!!!!!!
- On the vacuum valve side there is another small plate held by two screws, remove screws and plate. Replace small o-ring and gasket.
- If necessary, replace the accelerator pump diaphragm. Depending on what type of carb you have, the accelerator pump could be in these two positions:
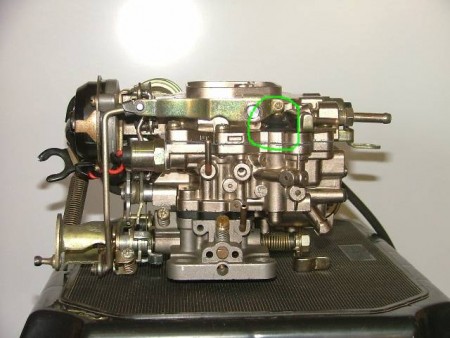
Accelerator pump position for type A
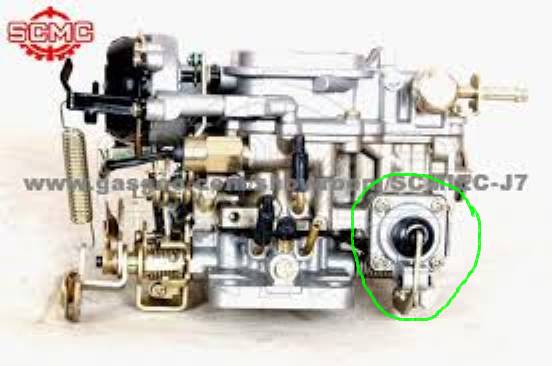
Accelerator pump position for type B
-
Now you are ready to put it all back together.
-
This is a reversal of the dismantle procedure and should be done with even greater care WRT gaskets and tightening screws. Remember no to over tighten screws, jets or solenoids as this will cause you problems the next time.
-
Once all parts are replaced, the carb can be replaced on the vehicle.
-
Tighten retaining nuts and replace vacuum pipes.
-
Start vehicle and check that the float level is correct. It should be level with the middle of the glass.
-
The Air Mixture can be set using a CO meter if needed.